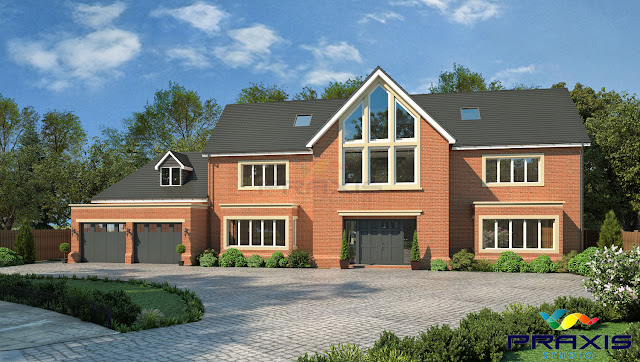
3D Architectural Rendering – A Handy Guide to Find How it is done
Today’s building or home architecture is not like before. Now, we have steadfast tools like architectural rendering.
Do you ever wonder how professionals do it?
If not, you are in the right place.
Let’s consider you are a 3D-rendering architect and you will follow this guide to create an incredible masterpiece.
- Begin Sketching your Idea
Grab a pencil, paper, and start sketching. You need a scale to measure each area and every edge. Pick the small scale so that you can draw the entire image on a paper yet bigger enough to include all the details.
- Add some Guidelines & Design Elements
After knowing the dimensions and scale, it’s time to sketch the guidelines. Draw the lines right where the different floors are divided. You can even add vertical lines where the doors and windows columns will line up. The professional 3D Architectural rendering services will take a look around at the real properties and copy a few elements that might fit perfectly with your requirements. Pay attention to the doors and windows. For multi-story buildings, notice the frequent transition between the upper floor and ground. For inspiration, you can explore buildings in your nearby area and look at the pattern and ratio of their elements.
Take the ruler and consider guidelines to ensure things are symmetric and balanced.

- Repeat the Entire process for Side View
Now, repeat the above steps for each side. Each window might take almost 15 minutes to draw; therefore, you can get an idea of how much time each side will take. You can reuse the same elements for each side to not to waste time.
- Model the Front side, add lines & design elements
Now it’s time to 3D-model the entire sketch. Use any app rendering to scan your sketch.
Start modelling the front of the building. Start with a pencil tool to draw a line in the ground and the air (use exact measurements of the line so that it matches the real property after the modelling is done). Now, loop it and fill in. Repeat this for each floor until everything matches the initial paper guidelines.
After shaping everything, add depth to it with the push/pull tool. Build one of each element like windows and save a lot of time by copying and pasting in the rest of the model.
In the same way complete each side of the building. Add details to one side and copy and paste it for the other sides.
- Apply Material
To give it a realistic look, add material. You can choose a seamless texture to give it a more realistic look. Paint each surface (try and do it in the beginning).
- Finally, Render
Many applications have this amazing tool of photo matching. You can import the real image with this tool. Do it and then line a few reference lines in your photo and match the perspective with the one in the photo. Choose rendering and 360o option in the areas where you want to allow the rendering.
Final thoughts…
3-D architectural rendering is an amazing tool to give life to your imagination. Various architectures are using it as it is fast and full of features that make changing and modifications easier.

Comments
Post a Comment